Non Destructive Test
Non Destructive Test (NDT) aims to detect surface and internal defects or discontinuities, assess material properties, and ensure product quality without impairing its future use. At Goodcheck Inspection, we specialize in offering reliable third-party NDT services to industrial clients, ensuring accuracy and reliability in every inspection.
Advantages:
Early detection: NDT methods can identify issues such as cracks, corrosion, or internal flaws before they lead to catastrophic failure.
No damage: As the name suggests, the testing does not alter or destroy the item being tested, making it ideal for safety-critical applications.
Cost-effective: Since there is no damage, expensive materials and components do not need to be replaced after testing.
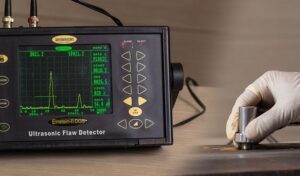
Ultrasonic Testing (UT): Uses high-frequency sound waves to detect internal defects.
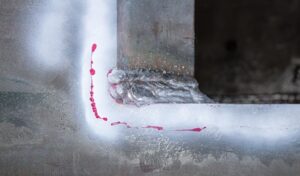
Dye Penetrant Testing (PT): Reveals surface-breaking defects by applying a penetrant liquid that seeps into flaws.
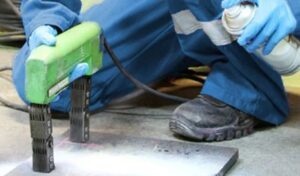
Magnetic Particle Testing (MT): Detects surface and near-surface defects in ferromagnetic materials by applying magnetic fields.
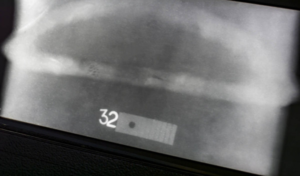
Radiographic Testing (RT): Uses X-rays or gamma rays to visualize the internal structure of components.
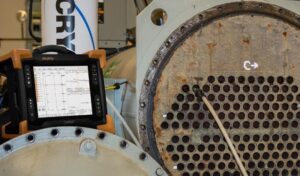
Eddy Current Testing (ECT): Uses electromagnetic induction to detect surface and near-surface defects in conductive materials.
Visual Inspection (VI): The simplest method, relying on the human eye, often with the aid of magnification, to spot surface defects.

Major Failure Modes Introduction
Welding Major Failure Modes
Welding – Major Failure Modes
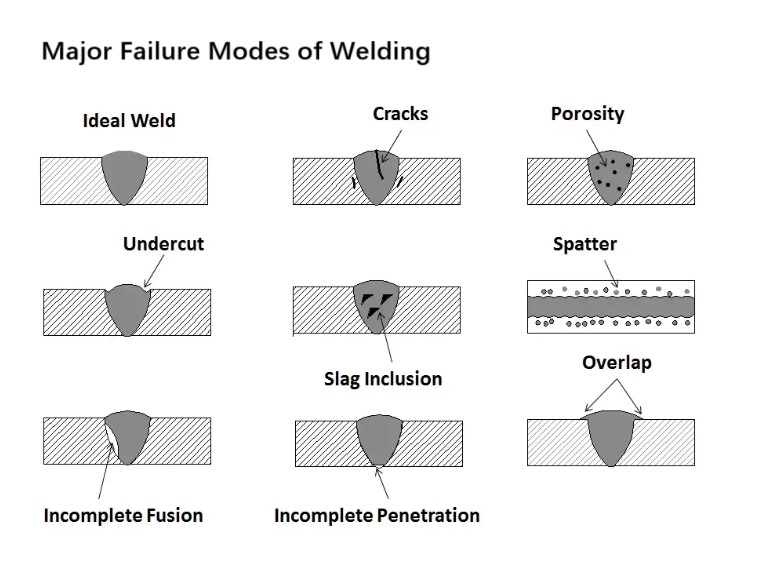
Incomplete Fusion
- Gas Porosity: Gas bubbles can become trapped in the molten metal during pouring, leading to small cavities in the casting.
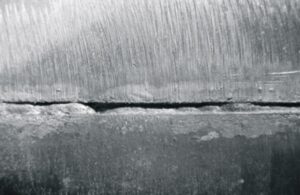
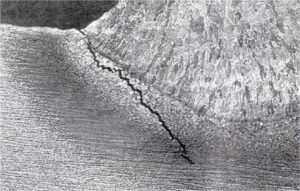
Cracking
- Hot Cracking: Occurs during solidification due to thermal stresses or the presence of impurities like sulfur or phosphorus.
- Cold Cracking (Hydrogen Cracking): Happens after the weld cools, often due to hydrogen entrapment, residual stresses, and brittle microstructures.
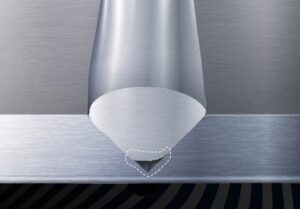
Incomplete Penetration
- The weld fails to penetrate through the full thickness of the joint, leaving parts of the base metal unfused, often due to insufficient current or incorrect joint preparation.
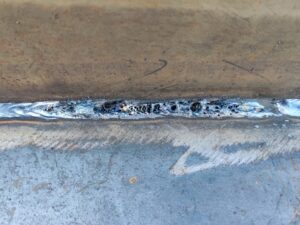
Porosity
- Small gas pockets or voids that form in the weld metal, caused by the entrapment of gases like hydrogen, nitrogen, or oxygen due to poor shielding, contamination, or improper electrode use.
Undercut
- A groove or depression at the toe of the weld that weakens the joint, caused by excessive heat input, improper torch angle, or high welding speeds.
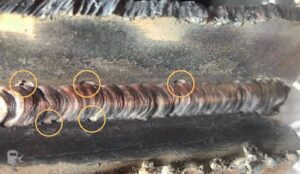
Slag Inclusions
- Non-metallic material (slag) gets trapped in the weld metal, caused by improper cleaning between welding passes or poor technique when using flux-coated electrodes.
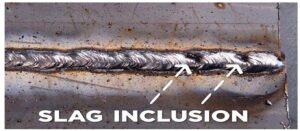
Weld Spatter
- Small droplets of molten metal are ejected and adhere to surrounding surfaces, caused by incorrect settings or improper shielding gas. While not a structural defect, it affects appearance and may require post-weld cleaning.
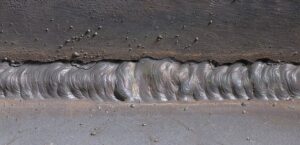
Sand Casting Major Failure Modes
Sand Casting – Major Failure Modes
Porosity
- Gas Porosity: Gas bubbles can become trapped in the molten metal during pouring, leading to small cavities in the casting.
- Shrinkage Porosity: As the metal cools and solidifies, it contracts, which can lead to voids forming if there isn’t enough molten metal to fill in the shrinking volume.
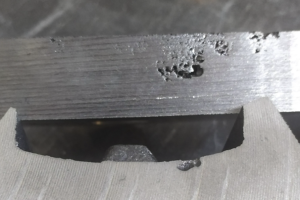
Hot Tears
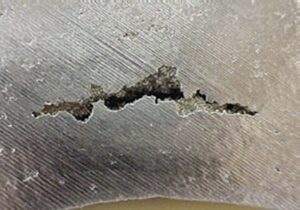
- During solidification, the metal can crack due to internal stresses caused by uneven cooling. These cracks often occur in areas with abrupt changes in section thickness.
Sand Inclusions
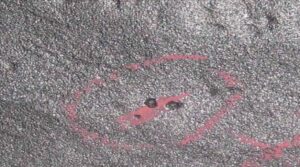
- Foreign particles like sand, slag, or other impurities can become trapped in the molten metal and end up embedded in the final casting. These inclusions weaken the casting and affect surface finish.
Mold Shifting
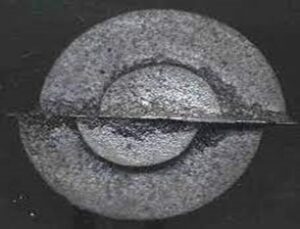
- Mold shifting happens when the cope and drag (the top and bottom halves of the mold) are misaligned, leading to a misaligned or distorted casting. Poor clamping or improper handling of the mold is often the cause.
Cold Shut
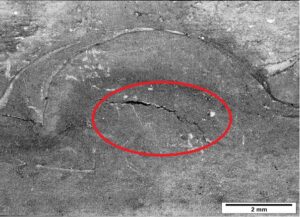
- A cold shut occurs when two streams of molten metal meet but fail to fuse properly, leaving a visible line or seam. This happens due to insufficient metal temperature or poor gating design.
Core Shift
- Core, which is used to create internal cavities in the casting, moves from its intended position during the casting process. This shift leads to dimensional inaccuracies and defects in the final product.
